How to Bury a Garden Hose Underground for Easy Watering
Burying a garden hose underground is a clever and efficient method to streamline the watering routine and keep the garden tidy. This method removes the inconvenience of carrying hoses around the yard while also improving the aesthetic appeal of the outside area. In this article, Bebest will demonstrate how to bury a garden hose underground for easy watering, step by step. Whether one is a seasoned gardener or a beginner, this article will assist in achieving a more organized and hassle-free watering system for the garden.
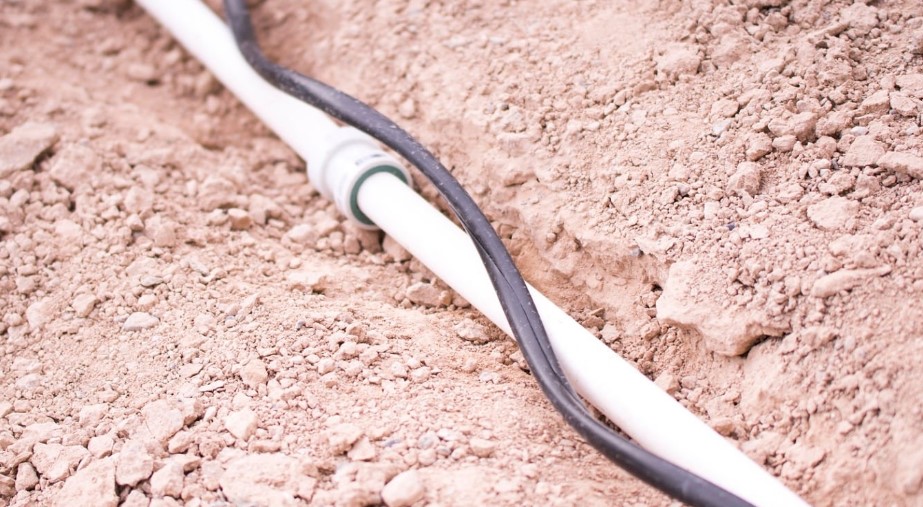
How To Bury A Garden Hose Underground
For those who yearn for a meticulously organized garden space, free from the unsightly tangle of garden hoses, the prospect of burying a garden hose underground offers a practical solution. This method not only enhances the aesthetic appeal of your outdoor haven but also bestows upon you the convenience of watering your plants without the irksome task of hauling hoses around or the nagging worry of tripping hazards. Here’s an in-depth guide to assist you in realizing this endeavor:
Step 1: Evaluate the Conditions
Embarking on this project necessitates a thorough evaluation of various critical factors. Begin by scrutinizing the soil type, ensuring it is neither rocky, clayey, nor sandy, as such soils can either damage the hose or complicate the digging process. Digging below the frost line is imperative to prevent the hose from succumbing to the rigors of freezing temperatures. Moreover, it is essential to reach out to your local utility company or dial 811 to have any concealed gas, water, or electrical lines in your yard marked, thereby ensuring that you avoid them during the excavation process.
Step 2: Choose the Right Hose
Not all garden hoses are created equal when it comes to underground burial. Opt for a hose that boasts qualities of robustness, flexibility, and resistance to punctures, kinks, and the harsh rays of UV light. A hose with a high burst pressure rating, signifying its capacity to withstand elevated water pressure without rupturing, is paramount. In many cases, a polyurethane hose stands as a top-tier choice due to its innate strength, lightweight character, and exceptional longevity.
Step 3: Determine the Correct Length
The exact location where you want to water your prized plants should be measured from your main faucet. Besides, any bends or turns the hose might need to make along the way should be planned ahead of time. Your goal is to choose a hose that is the right length to reach your destination comfortably without adding too much slack or wrapping into extra loops beneath. Cut the hose to the desired length using a sharp knife or pair of scissors.
Step 4: Dig the Trench
The next step involves excavating a trench along the designated path where you intend to lay your hose. This trench should be at least 6 inches wide and 12 inches deep, although in regions characterized by cold climates, a deeper trench may be advisable. Shovels, hoes, or specialized trenching tools can all be utilized for this purpose. Ensure that the soil excavated is piled neatly to one side of the trench, facilitating straightforward backfilling later on.
Step 5: Connect to the Main Faucet
The initial phase of hose installation necessitates attaching one end of the hose to your main faucet, a task accomplished using a hose connector or brass fitting. Additionally, you should install a shut-off valve at the faucet end of the hose, enabling you to exercise control over the water supply when the hose is not in use. Furthermore, it’s prudent to incorporate a backflow preventer on the faucet end of the hose—a device designed to inhibit contaminated water from flowing back into your primary water source.
Step 6: Lay the Hose
Uncoil the hose and place it snugly along the bottom of the trench. Exercise care to avoid excessive twisting or bending, as these actions can hinder water flow or lead to leaks. To ensure flexibility and accommodate any potential adjustments, leave a degree of slack at both ends of the hose.
Step 7: Cover the Trench
With the hose comfortably nestled in its subterranean abode, proceed to fill the trench with soil, ensuring comprehensive and uniform coverage of the hose. Employ your feet or a shovel to firmly tamp down the soil, encouraging it to settle and compact around the hose. To expedite the settling process, lightly water the soil.

Step 8: Install a Garden Hose Stand
Finally, at the endpoint of your subterranean hose, where your precious plants await hydration, install a garden hose stand. These stands, typically composed of metal or plastic, feature a spigot to which you can affix another hose or a sprinkler. Insert the stand into the ground in close proximity to your plants and establish a connection to your buried hose using another hose connector or brass fitting. Much like at the main faucet, include a shut-off valve at the stand’s end of the hose to conveniently regulate water flow.
Tips for Burying a Garden Hose
It’s a good idea to bury a garden hose to create an underground irrigation system for your plants, but it needs to be done carefully to protect it from harm and make it work as intended. An underground hose installation may be successfully completed by keeping in mind the following guidelines:
Choose a Durable Hose: The foundation of a reliable underground irrigation system starts with selecting a high-quality, durable hose. Ensure that the hose you choose can withstand the pressure and moisture associated with being buried. Avoid cheap or thin hoses, as they are more likely to crack, leak, or deteriorate over time. Opt for hoses specifically designed for buried applications, which are often reinforced and built to last.
Dig the Trench at the Right Depth: When digging the trench to bury your hose, strike a balance between burying it deep enough to protect it and avoiding interference with plant roots. A trench depth of approximately 6 inches is usually sufficient to cover the hose entirely while allowing it to effectively deliver water to your plants. However, if you have deep-rooted plants, consider adjusting the depth accordingly to prevent any disruption to their growth.
Lay the Hose Properly: Carefully place the hose along the trench, making sure it stays straight and flat. Also, avoid twisting or kinking the hose since these might reduce water flow and leave vulnerable regions for harm. Water must be distributed to your plants effectively, which requires proper hose alignment.
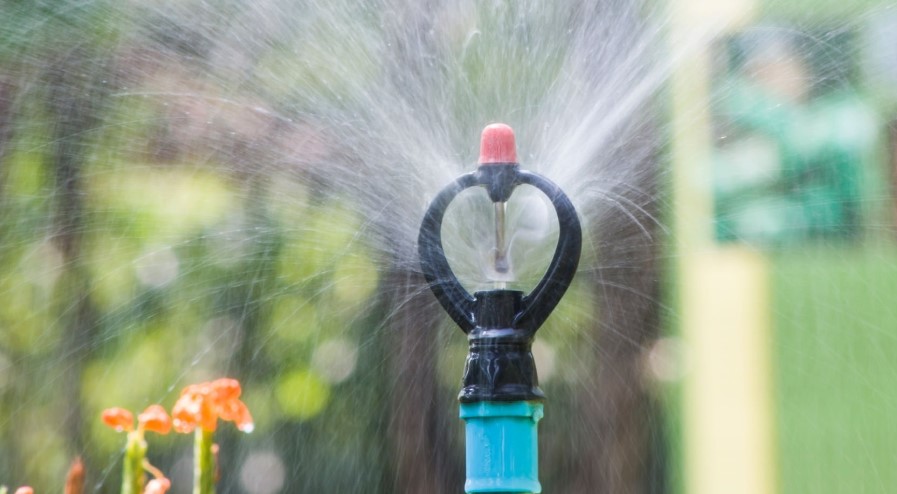
Cover and Protect the Hose: Once the hose is in place, cover it with soil and tamp it down firmly to secure it in position. In order to protect the hose from sunlight exposure, which can cause degradation, and to keep pests away from it, you can also apply a layer of mulch or gravel on top of the dirt. Properly covering and protecting the hose helps extend its lifespan.
Test for Leaks and Blockages: Before finalizing the installation, it’s crucial to test the hose’s functionality. Turn on the water and carefully inspect the hose for any leaks, blockages, or irregularities in water flow. If you identify any issues, address them promptly before burying the hose again. This step ensures that your underground irrigation system will function flawlessly once it’s in use.
FAQs
Is it safe to bury a regular garden hose?
Burying a regular garden hose underground is generally safe and can be a practical way to create an underground irrigation system. However, it’s essential to choose a durable hose designed for underground burial or one that can withstand the pressure and moisture of being buried. Regular garden hoses, especially cheaper or thinner ones, may be less robust and could deteriorate or develop leaks when buried. It’s recommended to use hoses specifically designed for buried applications to ensure longevity and performance.
How deep should I bury my garden hose?
The kind of soil, the existence of plant roots, and the regional climate all affect how deeply you should bury your garden hose. As a general guideline, a depth of about 6 inches (15 centimeters) is often sufficient to cover the hose entirely while still providing protection. However, if you have deep-rooted plants, you may need to adjust the depth to avoid interfering with their growth. In colder climates, you may need to bury it deeper to prevent freezing during the winter months.

For subterranean watering, can PVC pipe be used in place of a garden hose?
Yes, you can use PVC (polyvinyl chloride) pipe for underground irrigation instead of a garden hose. PVC pipes are a popular choice for underground irrigation systems because they are durable, resistant to corrosion, and capable of handling high water pressure. PVC pipes are available in various sizes, allowing you to customize your irrigation system to suit your garden’s needs. Just keep in mind that PVC pipes require additional fittings and connectors for water distribution, whereas a garden hose comes with built-in flexibility and connectors for easier installation and adjustment. PVC pipes also involve a more complex installation process compared to burying a garden hose.
Final Thoughts
Burying a garden hose underground offers a practical and efficient method for simplifying gardening tasks and keeping your outdoor area neat. Following the steps in this guide will help in understanding how to bury a garden hose underground for easy watering.
Whether one has experience in gardening or is new to it, this approach enhances the gardening experience by offering an organized and visually appealing solution. Selecting a suitable hose, digging the trench to the right depth, positioning the hose with care, and implementing essential precautions allow for the benefits of an underground hose irrigation system, resulting in a garden that thrives with health and vibrancy.
Related Articles