Mastering Lawnmower Repair: How to Fix a Lawn mower
Maintaining a lush and well-manicured lawn is a source of pride for many homeowners, but even the most meticulously cared-for lawns can encounter difficulties along the way. A reliable lawn mower is an essential tool in this pursuit, ensuring that your outdoor space remains pristine and inviting. However, like any mechanical device, lawnmowers can sometimes fall victim to wear and tear, leaving you with an uncooperative machine and an unkempt yard. This is where the art of Mastering Lawnmower Repair: How to Fix a Lawn mower Like a Pro equips you with the knowledge and skills necessary to diagnose, troubleshoot, and remedy a wide array of problems that can befall your trusty mower.
How to Fix a Lawn Mower that Won’t Start
Having a lawnmower is a necessary tool for maintaining a neat and manicured lawn. However, it can be frustrating when your lawn mower refuses to start. Before you give up and call for professional help, there are various actions you can take to identify the problem and possibly resolve it on your own. Here’s a comprehensive guide on how to fix a lawn mower that won’t start:
Check the Gas Tank
You can discover that the fuel in your lawn mower has been tainted by rainwater if you leave it outside or are bringing it out of storage for the winter. How to inspect the fuel tank:
- Check the gasoline supply. Is there sufficient fuel in the tank?
- Check to see if there are any water bubbles floating in the fuel; they are typically visible on the tank’s bottom.
- Check for water and drain a little amount of fuel if you’re still unsure.
- If you notice any symptoms of water, totally empty the old fuel, blow the tank dry using compressed air and then refuel it.
To prevent your mower from starting unintentionally while you’re inspecting it, make sure to remove the spark plugs. Store your lawnmower appropriately to avoid this issue in the future.
Check the Fuel Filter
Fuel can’t get to the engine if the fuel filter is clogged. Locate the fuel filter (usually near the gas tank or carburetor) and inspect it for dirt or debris. Change it out for a fresh one if it’s unclean or clogged.
Test the Battery
If your lawn mower has an electric starter, a weak or dead battery could be the culprit. It will deteriorate over time and struggle to maintain a charge, much like a car battery. Despite the fact that most batteries only last three to five years, you’ll ultimately need to replace it. Check your battery if your lawnmower won’t start by:
- Observing the headlights (dim headlights indicate a failing battery)
- Visually checking the battery for flaws, including corrosion and cracking
- Utilizing a multimeter to check the charge
Check the Oil Level
Low or dirty oil can lead to engine problems and prevent your lawn mower from starting. With the dipstick, check the oil level and ensure it’s at the recommended level. If the oil is old or dirty, replace it with fresh oil.
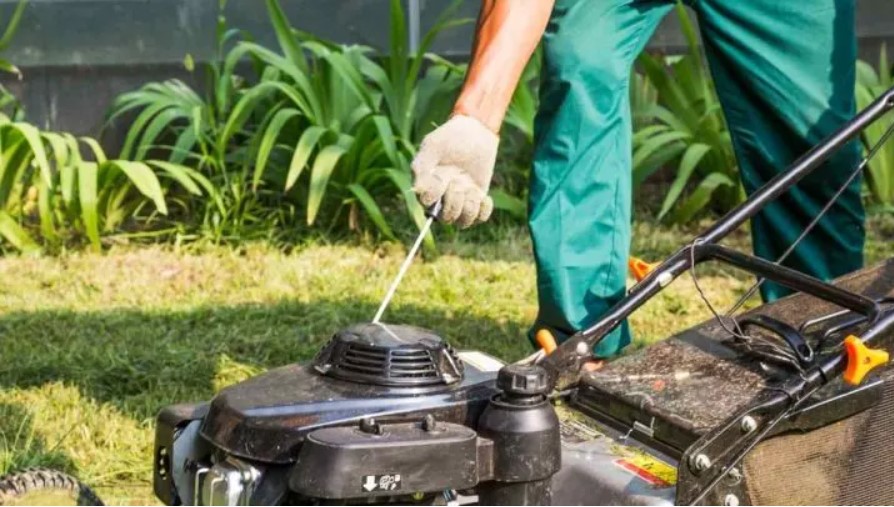
Check the Spark Plugs
The engine’s fuel-air combination must ignite for the spark plugs to work effectively. Check the condition of the spark plug after removing it. If it’s fouled, corroded, or worn out, clean and tighten the existing plugs to see if it resolves the issue before buying a replacement. They are often located on the side or back of your mower engine.
Clean or Replace the Air Filter
Airflow restrictions from a filthy or clogged air filter might make it difficult for the engine to start. Remove the air filter and clean it if it’s reusable, or replace it with a new one. A clean air filter ensures proper combustion and helps the engine start smoothly.

Raise the Height of Your Mower
If you’re trying to start your lawn mower on thick or overly tall grass, the resistance could be too high for the engine to overcome. Raise the cutting height and clear any excessive grass before attempting to start the mower.
Clean the Underside of Your Mower
Your mower’s starter rope may occasionally become caught or extremely difficult to pull. In this instance, it can be a flywheel break issue or material lodged in the mower’s underbelly. Looking for debris:
- Cut off the mower’s engine
- Spark plugs should be disconnected for safety
- Looking for debris on the blade
- Get rid of the dirt, grass, and anything else that might be stuck
If that doesn’t solve your issue, your mower might require a more significant fix.
Cautions
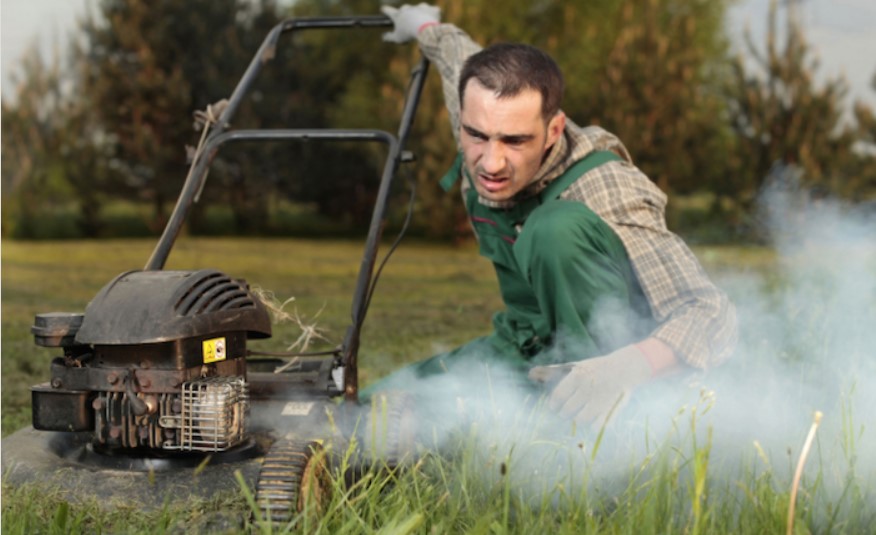
Undertaking the task of fixing a lawn mower can be a rewarding endeavor, saving you money and fostering a sense of accomplishment. However, it’s essential to approach this task with a mindful attitude and a keen awareness of potential risks. Cautions are a critical aspect of the repair process, ensuring both your safety and the successful restoration of your lawn mower.
- Safety Gear: Before delving into any repairs, prioritize your safety. Wear protective clothing at all times, such as gloves, goggles, and closed-toe shoes. These items shield you from debris, sharp edges, and potential chemicals, minimizing the risk of injuries.
- Fuel Handling: Gasoline is highly flammable and poses a fire hazard. When dealing with the fuel system, exercise caution. Work in well-ventilated areas, avoid smoking, and have a fire extinguisher nearby. Ensure proper disposal of old fuel to prevent environmental harm.
- Mechanical Awareness: While fixing a lawn mower, avoid reaching into moving parts or attempting repairs with the engine running. Accidentally engaging the mower blades or other mechanical components can lead to severe injuries.
- Electrical Components: If your lawn mower has electrical components, be cautious around wires, switches, and connections. Avoid working on electrical parts if you’re unsure or uncomfortable, as mishandling these components can result in electrical shock.
- Unsolvable Issues: Exercise caution when encountering complex or unfamiliar problems. If you’re unsure about a particular repair or lack the necessary expertise, it’s wise to seek professional assistance. Attempting advanced repairs without proper knowledge can exacerbate the issue.
Preventive Maintenance
Preventive maintenance is the cornerstone of ensuring your lawn mower’s optimal performance and extending its lifespan. By incorporating simple yet effective practices into your routine, you can save time, money, and the frustration of unexpected breakdowns. Here are three key aspects of preventive maintenance that will maintain the efficiency of your lawn mower.
Regular Cleaning and Debris Removal
Frequent cleaning is not only visually appealing but also essential for the proper functioning of your lawn mower. After each use, take a moment to clear and remove any dirt, trash, and grass clippings from the exterior and undercarriage. Built-up debris can impede airflow and cooling, potentially leading to overheating. A clean mower also reduces the risk of rust and corrosion, preserving its structural integrity over time.
Scheduled Oil Changes
Just as an engine needs clean oil to function optimally, your lawn mower requires regular oil changes. Refer to your manufacturer’s guidelines for the recommended oil type and change intervals. Fresh oil ensures proper lubrication, reduces friction and prevents premature engine wear. Neglecting oil changes can lead to engine overheating, decreased fuel efficiency, and even engine failure.

Blade Maintenance and Sharpening
The cutting blade is at the heart of your lawn mower’s performance. Dull blades tear the grass instead of cleanly cutting it, leaving your lawn vulnerable to disease and discoloration. Regularly inspect the blade for signs of wear, nicks, or bends. Remove and sharpen the blade as needed, or replace it if it’s excessively damaged. A sharp blade not only enhances the quality of your lawn’s appearance but also reduces strain on the engine, leading to smoother operation.
FAQs
What causes excessive vibration and noise?
Excessive vibration and noise can indicate loose or damaged components. Check for loose bolts, fasteners, or damaged mower blades. If the vibration persists, inspect the blade balance and replace any damaged parts.

How frequently should the air filter be cleaned or changed?
In order to keep dirt and other particles from entering the engine, the air filter is essential. Reduced airflow from a clogged air filter can affect engine performance. Check your manufacturer’s recommendations, but as a general guideline, inspect the air filter before each mowing season and clean or replace it as needed throughout the season.
Is carburetor cleaning necessary?
Yes, carburetor cleaning is an essential part of lawn mower maintenance. Over time, dirt, debris, and old fuel can clog the carburetor, leading to poor engine performance and starting issues. Regular carburetor cleaning, typically once a year or if you notice performance problems, helps maintain efficient fuel combustion.
Conclusion
This comprehensive guide empowers enthusiasts to navigate intricate repair tasks confidently. With a newfound mastery of diagnosing engine issues, blade maintenance, and fuel system intricacies, readers are primed to tackle lawn mower problems adeptly. “Mastering Lawn Mower Repair: How to Fix a Lawn Mower Like a Pro” not only imparts mechanical acumen but also fosters a sense of accomplishment, allowing individuals to revitalize their outdoor areas with finesse, restoring them to work again.
Related Articles