How to Sharpen a Pruning Saw | The Complete Manual
Sharpening a pruning saw is essential for effortless, precise cuts, minimizing strain, and preventing damage to plants. However, if not done carefully, there is a potential risk of injury. Don’t worry! In this comprehensive guide on how to sharpen a pruning saw, BeBest will delve into expert techniques and step-by-step instructions, ensuring your tool remains a reliable and safe asset in your gardening endeavors.

Must-have Tools to Sharpen a Pruning Saw
- Flat File
- Vise or Clamp
- Gloves and Safety Glasses
- Brush or Cloth
- Triangular Saw File
- Depth Gauge or Filing Guide
- Angle Guide
- Sharpening Stone or Diamond File
- Lubricant or Oil
- Scrap Piece of Wood
How to Sharpen a Pruning Saw?
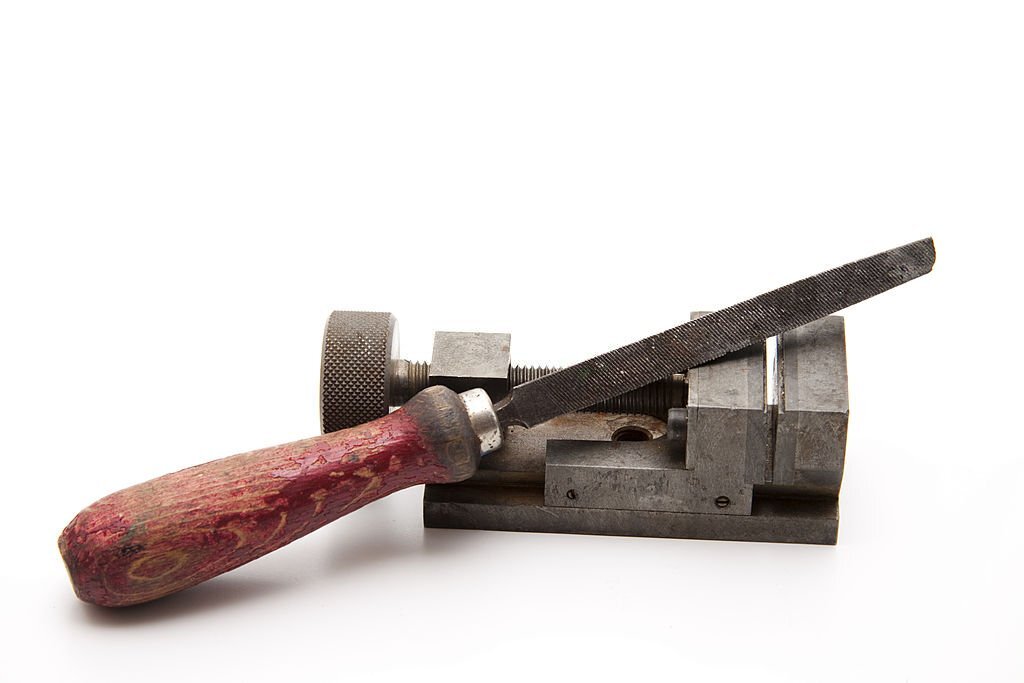
Step 1: Secure the Saw
You can begin by firmly securing the pruning saw in a vise or clamp, ensuring stability during sharpening. This prevents accidents and allows you to focus on the task. A securely held saw prevents unexpected movement or slipping, allowing you to focus on the sharpening process without the risk of accidents. Ensure the saw is held tightly but not overly constricted, enabling you to access all blade parts.
Step 2: Clean and Inspection
Thoroughly clean the saw, removing dirt, sap, and debris. Use a brush or cloth to ensure the blade surface is free from foreign particles. Take this chance to inspect the blade for any signs of damage, including chips or nicks, that can limit the blade’s capacity to cut effectively. Identifying and addressing these issues before sharpening is essential for optimal results.
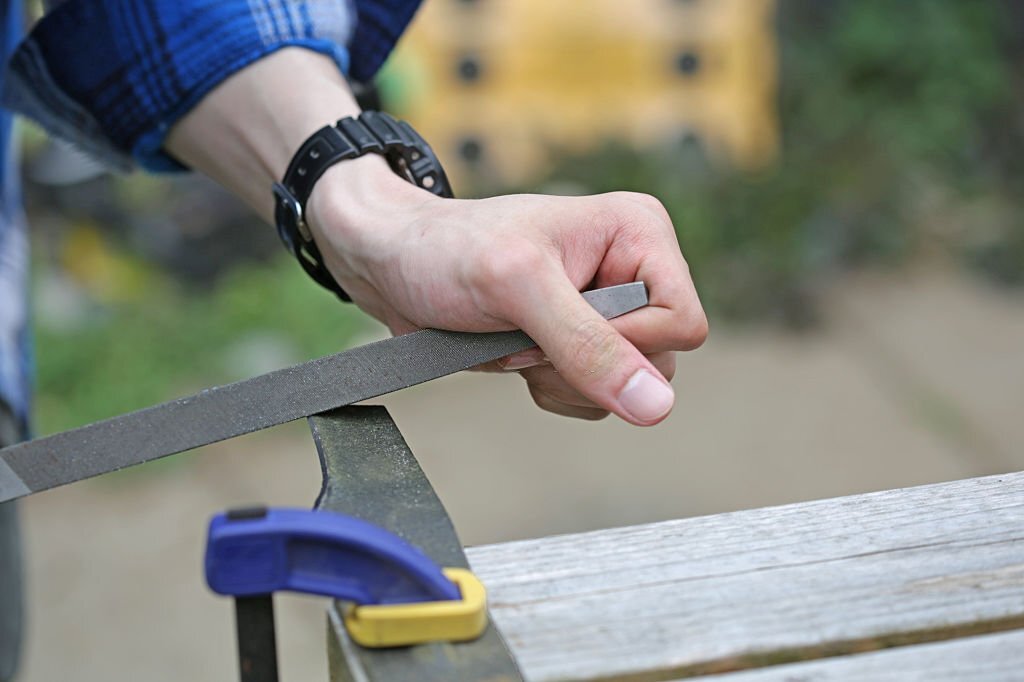
Step 3: Sharpen the Teeth
Using a proper angle guide, sharpen each tooth individually with a flat file. Begin with the first tooth and work your way along the blade. Maintain a consistent pressure and motion as you file each tooth. This helps ensure uniformity in sharpness and angle. Focus on maintaining the tooth’s original shape and angle, which is essential for the saw’s effective cutting performance.
Step 4: Triangular Saw File
Utilize a triangular saw file to restore the correct cutting angle. Align the file with the angle of the teeth and use smooth, controlled strokes. Filing each tooth at the same angle will restore the saw’s cutting efficiency and prevent uneven wear. Take your time and ensure precision during this step for optimal results.

Step 5: Hone with the Sharpening Stone
Apply a sharpening stone to hone the filed teeth, refining the edges for precise cuts. Gently pass the stone along each tooth’s edge, following the natural curvature of the blade. This step helps remove any burrs or rough edges left from filing, resulting in a smoother and sharper cutting surface. The honing process contributes to the saw’s ability to make clean and precise cuts.
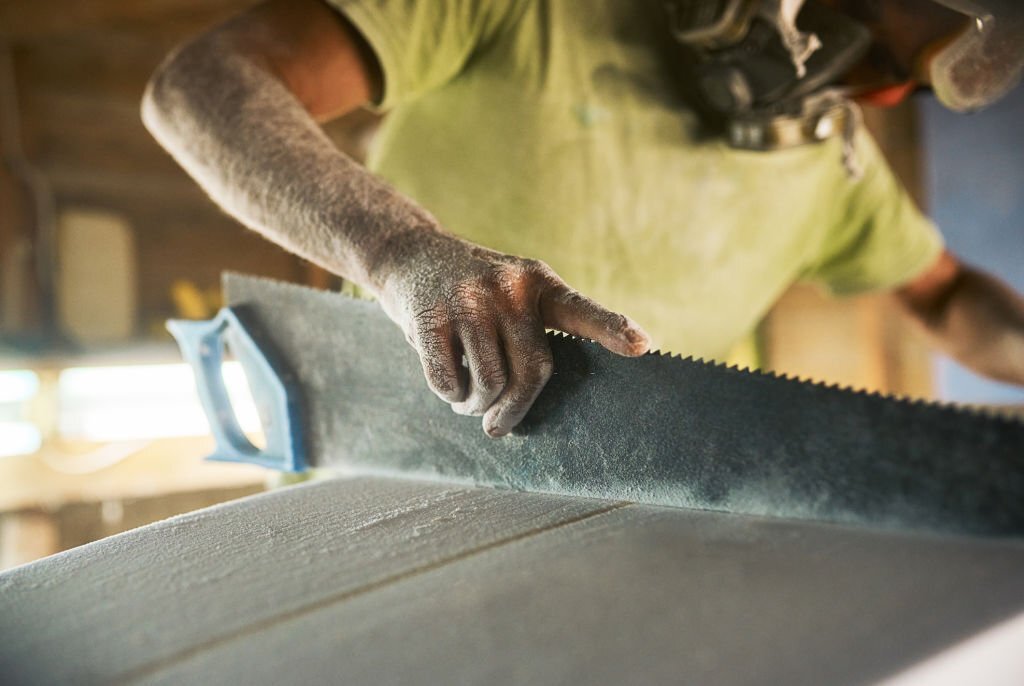
Step 6: Check the Sharpness
Assess the sharpness of the saw by gently running your finger along the teeth. Be cautious to avoid accidental cuts. If the teeth feel uniformly sharp and smooth, you’re on the right track. If any teeth still feel dull or uneven, repeat the filing and honing process for those specific areas. This step ensures the entire blade is consistently sharp for optimal cutting performance.
Step 7: Clean and Lubricate
Thoroughly clean the saw once again to remove any metal shavings. You can use a brush or cloth to make sure the blade’s surface is clean. Adding a thin layer of oil or lubricant onto the blade safeguards it against the harmful effects of rust and corrosion. Proper lubrication also ensures smooth and easy operation during future use.
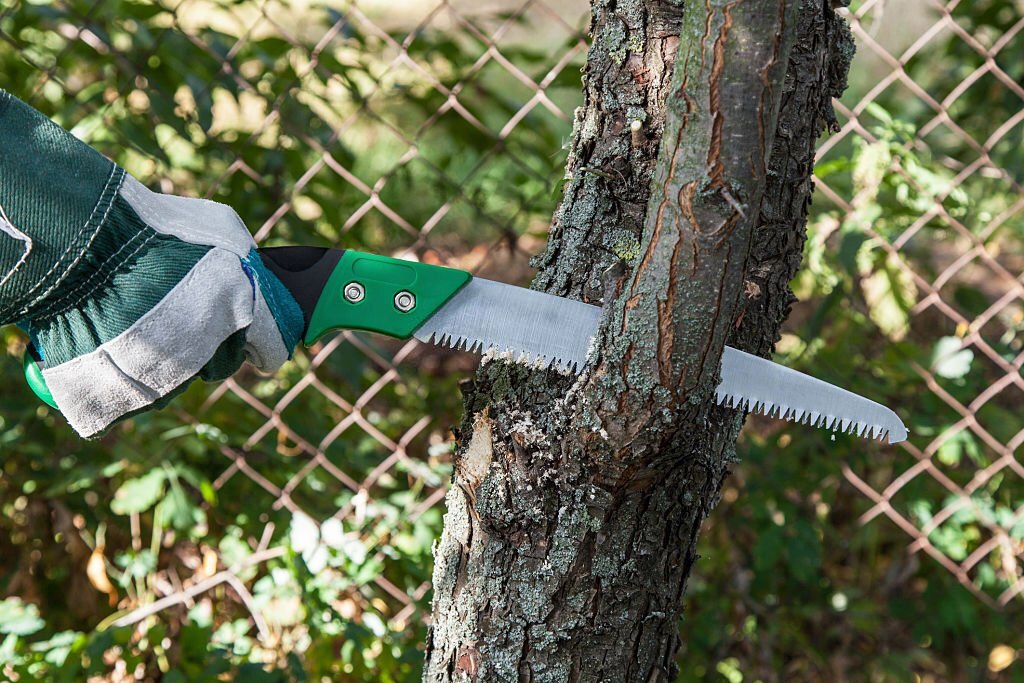
Step 8: Test Cutting
Before concluding the sharpening process, conduct a test cut on a scrap piece of wood. This step allows you to gauge the effectiveness of your sharpening efforts and make any final adjustments if needed. A clean and precise cut indicates a successful sharpening. If the cut is not up to par, revisit the sharpening steps as necessary to achieve the desired cutting performance.
Safety Tips
Mind Your Fingers
Please be sure to safely guard your hands with sturdy gloves to shield against potential cuts and wood chips. It’s crucial to keep your fingers a safe distance away from the teeth of the saw while sharpening. Maintaining proper hand positioning and taking more caution will significantly decrease the chance of accidents and guarantee your fingers’ safety.
Use Controlled Strokes
Maintain a firm grip on both the saw and the file during the sharpening process. Apply consistent and controlled pressure, using smooth and deliberate strokes. This technique not only enhances the precision of sharpening but also minimizes the likelihood of the file slipping or jerking, thus preventing accidents and ensuring uniform sharpening.
Work in a Well-Lit Area
Adequate illumination is essential to clearly visualize the teeth and edges of the saw as you sharpen. You can opt for a well-lit workspace or consider using supplementary lighting sources to eliminate shadows and enhance visibility. This practice allows you to effectively sharpen each tooth and reduces the chances of errors or mishaps due to inadequate lighting.
FAQs
Can I hang other garden tools alongside my leaf blower?
Yes, you can certainly hang other garden tools alongside your leaf blower, provided the hanger can accommodate the combined weight. Be mindful not to overload the hanger, as it could affect its stability and the accessibility of the tools. Prioritize arranging tools in a balanced manner to avoid strain on the hanger.
How do I maintain the hanger and leaf blower over time?
To maintain the hanger, periodically inspect it for signs of rust, wear, or loosening screws. Lubricate moving parts if needed and tighten any hardware to ensure stability. Clean the leaf blower’s exterior after use to prevent dirt accumulation. Store the blower with its battery removed, and keep it in a dry, cool place to extend its lifespan.
Should I remove the battery before hanging a cordless leaf blower?
Yes, removing the battery before hanging a cordless leaf blower is advisable. This not only reduces the overall weight for safe hanging but also prevents any unintended activation. Storing the battery separately in a cool, dry environment contributes to its longevity and ensures it’s ready for use.
What distance should I maintain between the leaf blower and the wall?
Aim to maintain an approximately 4 to 6-inch gap between the leaf blower and the wall. This allows proper air circulation around the blower, preventing potential heat buildup and facilitating easier hanging and removal. Keeping a reasonable distance also minimizes the risk of accidental contact that could damage the blower and the wall.
Conclusion
Concluding this comprehensive guide on how to sharpen a pruning saw, mastery over tool reinvigoration and garden cultivation has been attained. Following the step-by-step instructions and safety guidelines ensures efficient cutting, less strain, and a longer tool lifespan. Each precisely sharpened tooth enhances tool performance and nurtures a flourishing garden. Embrace this newfound expertise for seamless gardening and enjoy the fruitful results of a well-sharpened pruning saw!
Related Articles