How to Start Your Husqvarna Leaf Blower: A Step-by-Step Guide
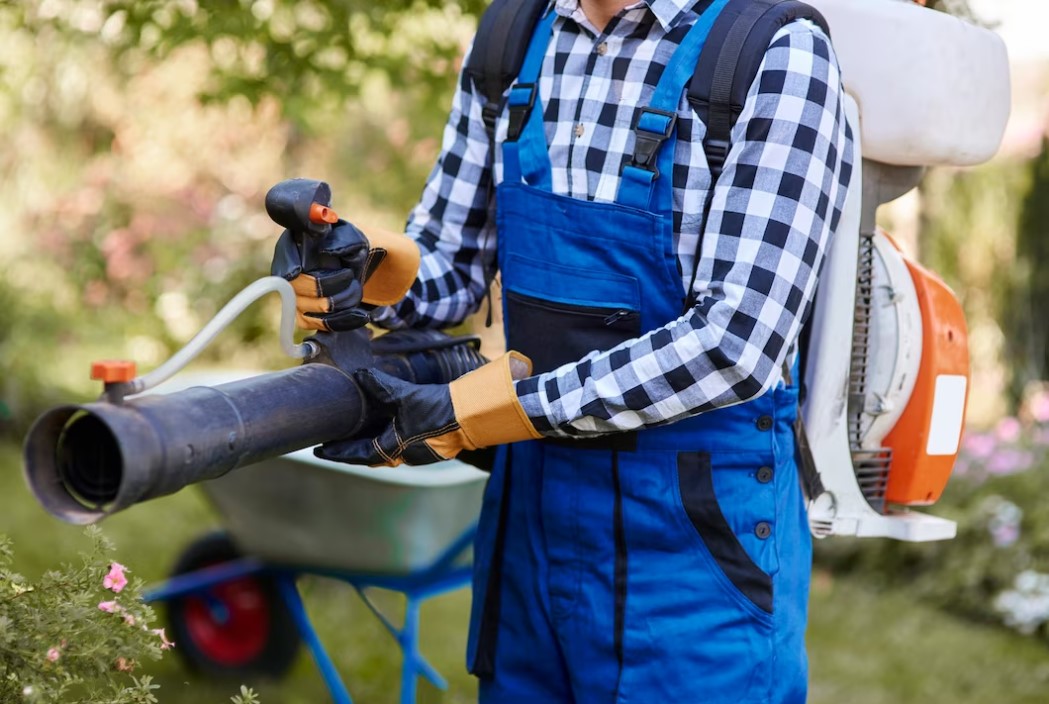
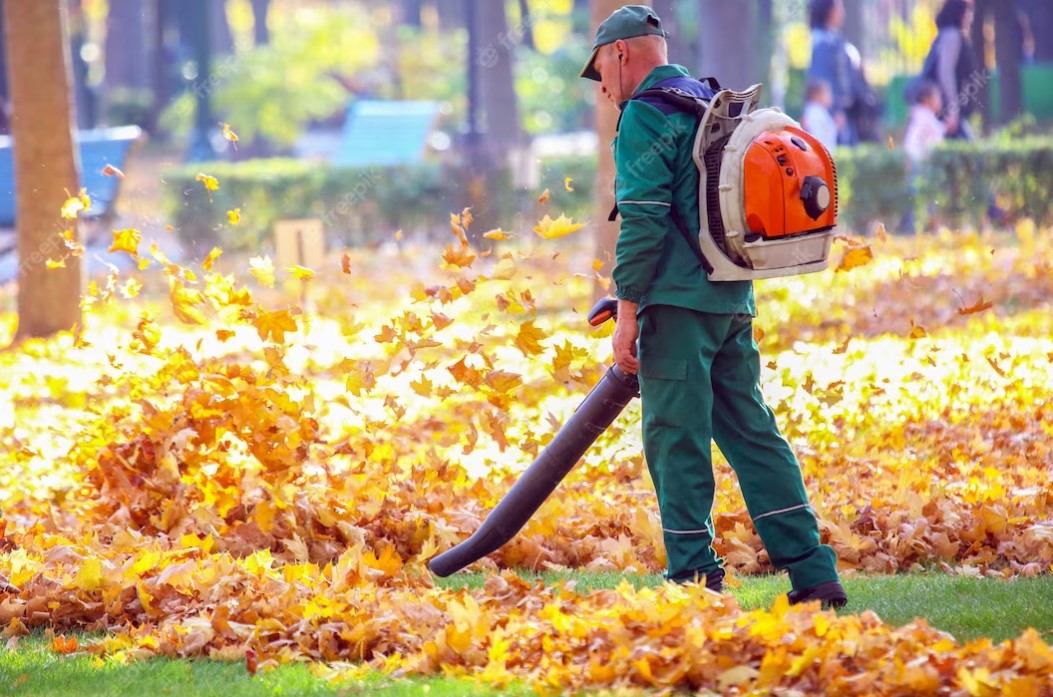
If you routinely deal with a yard full of leaves, a Husqvarna leaf blower is by far the most useful and time-saving tool you can buy. Especially in the winter, the ground is likely to be covered in decomposing leaves from trees and plants. The yard seems messy and run-down due to the scattering of leaves. Use a leaf blower to do the job quickly rather than taking hours to rake the leaves into a pile. So let’s learn how to start a Husqvarna leaf blower: a step-by-step guide to save time and energy.
A Guide on How To Start A Leaf Blower
A leaf blower is an indispensable tool for any homeowner or landscaper, making yard cleanup a breeze. However, if you’re a first-time user or have recently acquired a new leaf blower, knowing how to start it properly is crucial for its efficient operation and longevity. In this comprehensive guide, we’ll take you through the step-by-step process of starting your leaf blower and share essential tips to ensure a smooth and trouble-free experience.
Step 1: Prepare the Oil and Gas Mixture
- Check the oil and gas levels in the leaf blower’s fuel tank. Before attempting to start the leaf blower, fill the gas tank with fuel if it is empty
- The oil tank should be filled with the advised oil
- 2-stroke engines need a fuel blend of gasoline and oil to operate
- The most common operating ratio for appliances is 1:50, or one part oil to 50 parts gas.
- The equivalent amount of oil in a gallon of gasoline is 212 ounces
- To be sure that this is the precise ratio, it is best to double-check the manual that came with your model
- These materials should be added to a gas can in the correct amounts. Shake the can vigorously to ensure proper mixing
- Make sure the amounts are measured properly because using the wrong ratios could make your blower smoke and possibly damage it
Step 2: Pour In the Mixture Slowly
- Once you’ve prepared the oil and gas mixture, carefully pour it into the leaf blower’s fuel tank
- Take your time and avoid spilling the mixture, as it may lead to dangerous situations or damage the blower
Step 3: Check the Oil and Gas Level
- Remove the leaf blower’s side-mounted choke knob
- To start the leaf blower, take out the starter cable and slowly pull it three times
- Examine the little window on the side of the leaf blower for any signs of grease
- Pull the starting cord from its sheath if oil is visible in the glass
- Check the oil level window in the engine if you can’t see any oil or a fuel mixture
- If the gas mixture seems to be at capacity, add a little extra oil
- If it seems to be empty, add additional mixtures until you can see oil through the glass.
- Call an expert if you cannot see any oil
Step 4: Change the choke’s position to “Run”
The choke is a small lever usually located near the air intake. To start the engine, move the choke to the “Run” position. The choke restricts airflow to the carburetor, providing a richer fuel mixture for cold starts. You can adjust the choke once the engine is operating nicely.
Step 5: Priming the engine
Many leaf blowers have a primer bulb that you need to press several times before starting. Priming the engine helps draw fuel into the carburetor, making the starting process easier, especially after the blower has been unused for an extended period.

Step 6: Pull the Starter Cord
- This is a crucial phase in leaf blower usage. Keep the blower’s body in one hand and the starter cord securely in the other
- Right now, pull the cord as firmly as you can
- To start the engine, pull between one and five times
- Make sure that after each tug, the cord does not immediately snap back into place
- Instead, feed it gradually
Step 7: Let the Engine Run for Sometime
- After starting, let the engine run for 10 to 30 seconds
- Once the engine has been running for a while, you should set the manual choke on your machine to the “run” position
- Some models come equipped with a semi-automatic choke that instantly switches to the run position
- If you own one of these devices, you don’t need to worry
Step 8: Fully Open the Choke
- Open the choke all the way when you sense that your machine is operating smoothly.
- If the engine overheats, turn it off
- Then, after a few minutes, turn it back on
- There is a “decompression” handle on some models
- By pulling the starter cord with ease the next time you want to start the leaf blower, you may be sure that you can do so by pushing this handle
- To start the engine without utilizing the electric starter on your machine, pull it and swiftly release it twice or three times
- Release the handle after that
- Fill the rapid-start cup on your leaf blower with oil and add two teaspoons of gasoline
- When the blower is attached to the cup, pull the ignition cord for around five seconds.
- As a result, pressure will be generated inside the cup
- Before drawing the cord once more, allow the handle to return to its original position
Step 9: Care for your leaf blower at all times
- The longevity and effectiveness of your leaf blower depend on proper maintenance and care
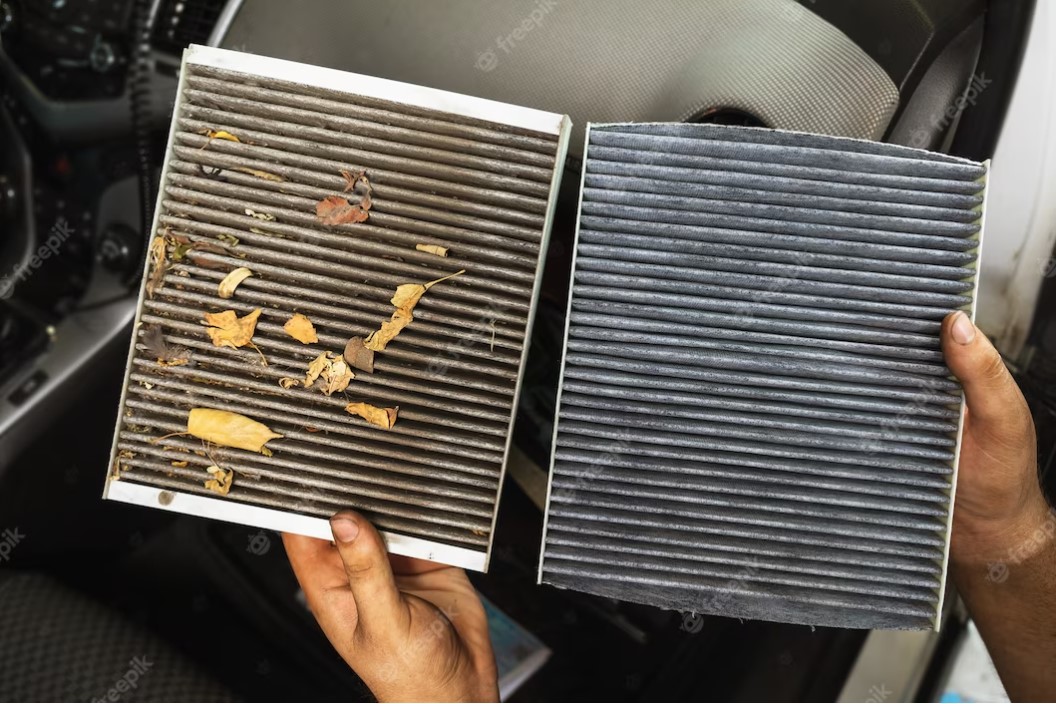
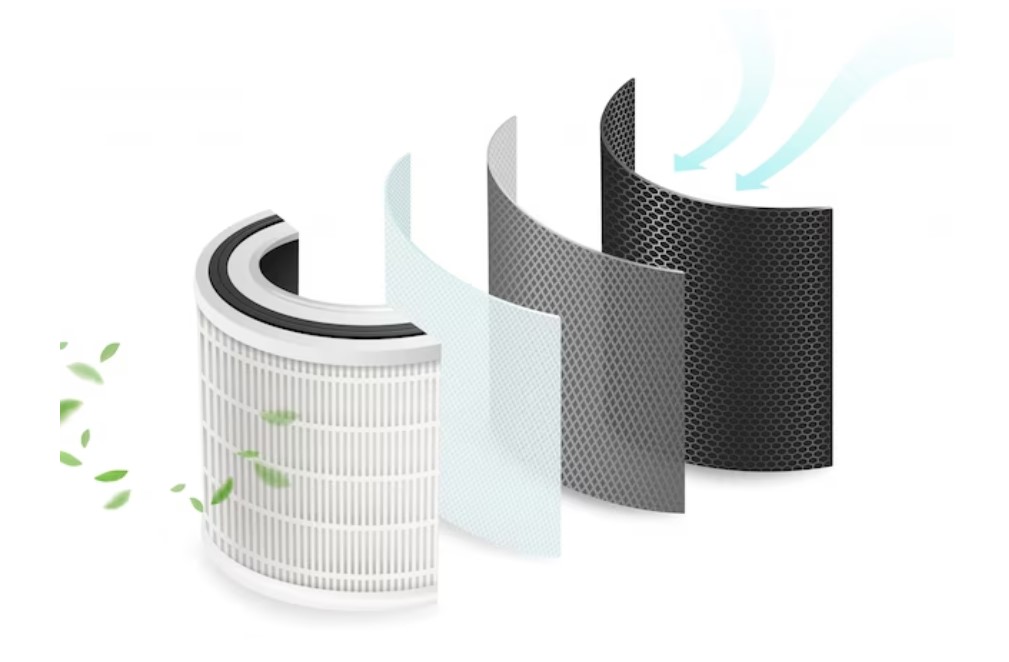
- Regularly check the air filter, spark plug, and fuel lines for cleanliness and wear
- Keep the blower clean and store it in a dry, safe place when not in use. Additionally, follow the manufacturer’s recommended service schedule to keep your leaf blower running smoothly for years to come
Safety Precautions
Safety Precautions when starting a Husqvarna leaf blower are of paramount importance in any situation that involves potential risks to individuals or the environment. Whether it’s in the workplace, during recreational activities, or simply at home, being vigilant about safety can prevent accidents and save lives.
Safety Emphasis
Safety should always be the top priority in any task or activity. Emphasizing safety ensures that everyone engaged is aware of the potential risks and knows how to reduce them, whether it be in a corporate environment or on a construction site. This may involve conducting regular safety training sessions, implementing safety protocols, and fostering a culture that values safety above all else.
Necessary Gear Explanation
Appropriate safety gear is a critical aspect of safeguarding against potential dangers. Depending on the situation, the necessary gear may vary, but some common examples include hard hats, safety goggles, gloves, ear protection, and high-visibility vests. Properly explaining the purpose and correct usage of each gear is essential in ensuring individuals are adequately protected.

Highlight Handling Tips
Handling tips play a crucial role in reducing the likelihood of accidents or injuries. Whether it’s operating heavy machinery, handling chemicals, or participating in sports, understanding the correct techniques can significantly mitigate risks. Highlighting the importance of proper handling and offering clear guidelines can lead to a safer environment for all involved.
Troubleshooting Tips
Starting Problems & Causes
Starting problems with a Husqvarna backpack leaf blower can be aggravating, but being aware of the possible causes can assist you in troubleshooting effectively. Common issues include a clogged air filter, fuel problems like old or stale gasoline, a flooded engine due to excessive choking, or a faulty spark plug.
Troubleshooting Tips
To start a Husqvarna backpack leaf blower smoothly, follow these troubleshooting tips:
- Check the air filter: Ensure the air filter is clean and free from debris. A clogged filter can restrict airflow and hinder starting
- Verify the fuel: Use fresh, properly mixed fuel with the appropriate oil-to-gas ratio for your leaf blower. Stale fuel can cause starting issues
- Choke adjustment: Be cautious not to over-choke the engine. Follow the manufacturer’s recommendations on the choke setting
- Prime the engine: If your blower has a primer bulb, press it a few times to allow fuel to reach the engine
- Set the throttle: Make sure the throttle is set to the correct position for starting, usually marked with a “start” symbol
- Pull the starter cord smoothly and firmly: A quick, forceful pull should be enough to engage the engine without flooding it
Professional Help Timing
If you have followed the troubleshooting tips and still face starting problems with your Husqvarna leaf blower, it may be time to seek professional help. An authorized Husqvarna service center or a qualified technician can identify and resolve more complicated problems that could be affecting your leaf blower’s starting performance. It’s essential not to delay seeking professional help to avoid further damage and ensure your leaf blower is in top working condition.
Remember, regular maintenance and proper handling will contribute to a smoother starting experience and a longer life for your Husqvarna backpack leaf blower.
Maintenance and Care
Maintenance and care are crucial aspects of keeping your Husqvarna backpack leaf blower in optimal condition, ensuring it starts smoothly and operates efficiently throughout its life. By following a regular maintenance routine, adhering to a maintenance schedule, and employing proper off-season storage tips, you can make your leaf blower last longer and maintain its peak performance.
Regular Maintenance Importance
Your Husqvarna leaf blower’s lifetime and effectiveness depend on routine maintenance. It prevents the accumulation of dirt, debris, and engine issues that could hinder starting and performance. Proper maintenance also ensures that all components are in working order, reducing the risk of breakdowns during operation.
Maintenance Schedule & Tasks
Make a maintenance schedule to remember to complete important activities. Perform these routine maintenance tasks regularly:
- Clean the air filter: A clogged air filter restricts airflow and can lead to starting problems. According to the owner’s handbook recommendations, clean or replace the air filter
- Check and change the spark plug: A faulty spark plug can make starting difficult. Inspect and replace it according to the manufacturer’s guidelines
- Inspect the fuel system: Regularly check the fuel lines, filter, and tank for any signs of damage or blockages. Replace damaged parts and clean the fuel system
- Examine the blower tubes: Inspect the tubes for cracks or obstructions that could affect airflow
- Lubricate moving parts: Regularly lubricate the throttle trigger, choke, and other moving parts as specified in the owner’s manual
Off-Season Storage Tips
When the leaf blower is not in use, proper off-season storage is essential:
- Empty the fuel tank: Storing the leaf blower with fuel can lead to carburetor issues. Run the engine until it is out of fuel, or drain the tank completely
- Check the spark plug: Before storing, remove the spark plug and apply a few drops of oil to the cylinder. To disperse the oil, softly pull the starter cord a few times and then reinstall the spark plug
- Store in a cool, dry place: Keep the leaf blower in a clean, dry environment away from direct sunlight and extreme temperatures
With these maintenance and care tips, your Husqvarna backpack leaf blower will remain reliable and ready to start whenever you need it, ensuring efficient performance in clearing leaves and debris from your property.
FAQs
How often should I perform maintenance on my Husqvarna leaf blower?
Regular maintenance is recommended as per the owner’s manual. Generally, check and perform maintenance tasks like air filter cleaning, spark plug inspection, fuel system check, and lubrication at specified intervals for optimal performance.
What safety gear do I need to wear while using the leaf blower?
Wear safety goggles, ear protection, gloves, and a face mask to protect against debris, noise, and fumes while operating the leaf blower.
Why is my leaf blower difficult to start, and how can I fix it?
Difficulty starting can be due to clogged air filters, old fuel, a flooded engine, or a faulty spark plug. Use fresh fuel and clean or replace the air filter, adjust the choke, or replace the spark plug following the owner’s manual.

Can I use ethanol-blended fuel in my Husqvarna leaf blower?
You can use fuel with a maximum of 10% ethanol, but higher content can cause performance issues. Use high-quality, fresh fuel with the correct oil-to-gas ratio as specified.
What should I do if my leaf blower emits excessive smoke?
Excessive smoke may indicate a fuel mixture or engine problem. Check fuel lines, filters, and carburetor for clogs or damage. Use the right fuel ratio and consult a technician if the issue persists.
Conclusion
Starting up your Husqvarna leaf blower is a simple process and can be easily mastered. With how to start a husqvarna leaf blower: a step-by-step guide, you can quickly remove the accumulation of leaves in your landscape. If you follow the steps above, you should be able to get your computer up and running quickly, easily, and with minimal fuss. With these tips, you’ll be ready to handle leaf cleaning with ease and keep your outdoor space pristine year-round.
Related Articles